 (1)")
A cast iron sink is a strong and heavy sink made with iron and covered in a smooth, shiny enamel. Over time, it can get scratched, stained, or lose its shine. But don’t worry—you don’t need to replace it. You can refinish a cast iron sink all by yourself at home! It’s a simple and budget-friendly way to make your old sink look brand new again. In this guide, we’ll show you easy steps, best tools, and pro tips to help you do it right—even if it’s your first time. Let’s bring that beautiful old sink back to life!
What You Need Before You Start
Before you begin to refinish your cast iron sink, you’ll need to gather the right tools, cleaning products, and a reliable sink refinishing kit. These things will help you work safely and get the best results.
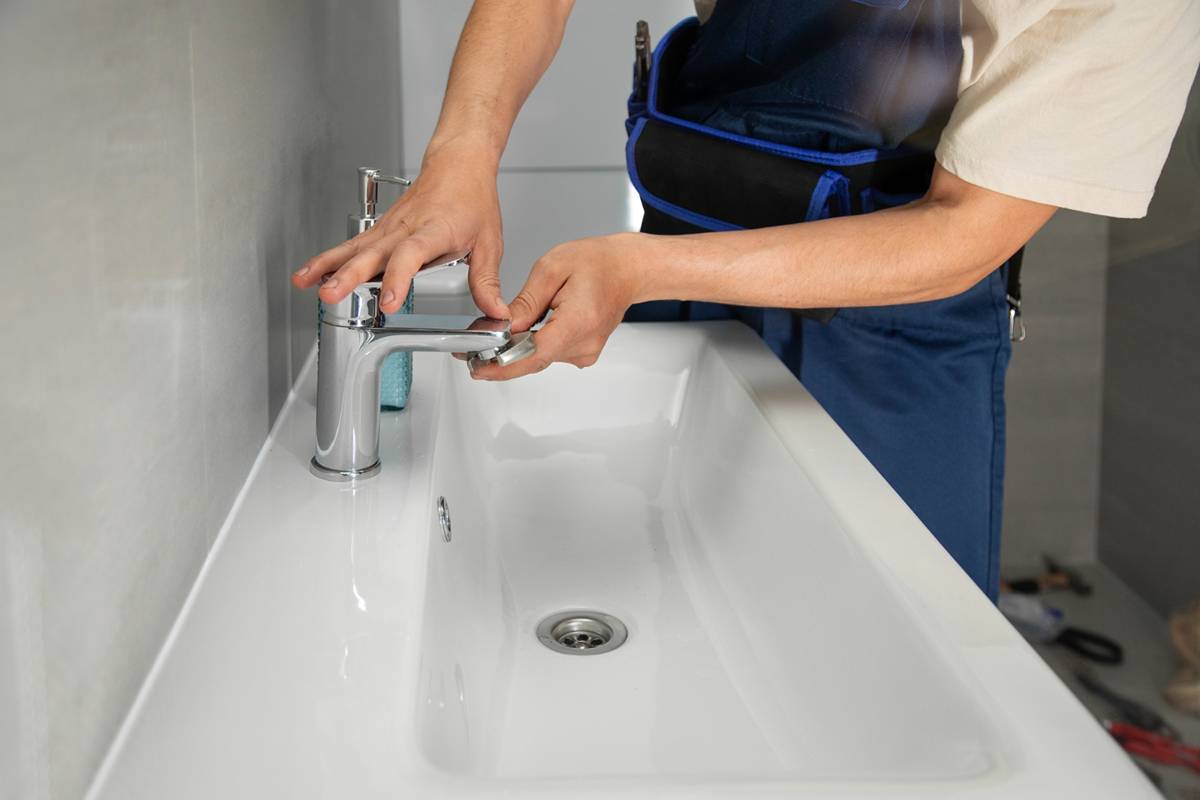
Tools and Safety Gear
Safety comes first! You’ll be working with cleaners and paint, so wear the right gear to protect yourself.
You’ll need:
- Safety gloves – to protect your hands from chemicals
- Goggles – to keep dust and sprays out of your eyes
- Face mask or respirator – to avoid breathing in fumes
- Sandpaper or electric sander – to remove old finish and smooth the surface
- Putty knife – to scrape off chipped enamel or rust
- Cleaning brush – for scrubbing off dirt and grime
Cleaning Supplies
A clean sink is the key to a smooth refinish job. Before applying anything new, remove all the grease, stains, and dirt.
Here’s what you need:
- White vinegar or baking soda – for a natural and safe clean
- Mild cleaner – if you don’t want to use vinegar
- Degreaser – to cut through oily buildup (essential step!)
- Sponge or soft cloth – to wipe everything down
Best Cast Iron Sink Refinishing Kit
Choosing a sink refinishing kit is one of the most important steps. The right kit will include everything you need to get a shiny, strong, and long-lasting finish.
Here are top-rated kits in 2025 you can find online:
Rust-Oleum Tub & Tile Refinishing Kit
Easy to use
Glossy, durable finish
Works well on sinks and tubs
HOMAX Tough as Tile Kit
Great for beginners
Low odor
No need for primer
EKOPel 2K Refinishing Kit
Eco-friendly
Strong enamel coating
High gloss and scratch resistant
Step-by-Step Guide to Refinish Cast Iron Sink
Now that you have your tools and kit ready, let’s walk through the exact steps to refinish a cast iron sink at home. These steps are simple and beginner-friendly, so don’t worry—you can do this even if it’s your first time!
Step 1 – Clean the Sink Thoroughly
Start by giving your sink a deep clean. This helps the paint stick better and makes your work last longer.
- Scrub off any grime, grease, or stains using vinegar, baking soda, or a mild cleaner.
- Use a degreaser for stubborn oil or residue.
- Wipe everything down with a sponge or soft cloth and rinse well.
Step 2 – Sand the Surface
Next, you need to sand the sink to remove old paint, rust, and rough spots.
- Use sandpaper (or an electric sander for faster results).
- Lightly sand the entire surface until it feels smooth.
- Focus more on areas with chips or rusty spots.
Step 3 – Fix Any Cracks or Chips
Look closely for any damage on the surface.
- Fill small cracks or chips with an epoxy filler or putty.
- Use a putty knife to smooth it out.
- Let it dry completely (check the filler instructions for drying time).
Step 4 – Apply Primer and Paint
Now the fun part—painting your sink!
- Start with a cast iron sink primer to help the paint stick better.
- After the primer dries, apply cast iron sink paint using a brush, roller, or spray (whatever your refinishing kit recommends).
- Use multiple light coats instead of one thick coat to avoid drips.
Step 5 – Let It Dry Properly
Once the final coat is on, it’s time to wait.
- Let your refinished cast iron sink dry for 24–48 hours.
- Keep it in a well-ventilated area and avoid using the sink during this time.
Choosing the Right Paint for Cast Iron Sinks

When you decide to refinish a cast iron sink, picking the right paint is very important. Not all paints work well on cast iron surfaces, so understanding the difference can save you time and give your sink a beautiful, lasting finish.
Cast Iron Sink Paint vs. Regular Enamel
Cast iron sink paint is specially made to stick to heavy, non-porous surfaces like cast iron. It’s designed to resist water, heat, and everyday wear. On the other hand, regular enamel paint might chip or peel quickly because it’s not built for sinks.
Best Colors and Finishes
Most people prefer white or off-white colors because they match most kitchens and look clean and fresh. But you can also find paint in colors like cream, black, or even pastel shades for a unique look.
When it comes to finishes, there are two popular types:
- Glossy finish – Shiny and bright, this finish is easy to clean and highlights the sink’s smooth surface.
- Matte finish – Softer and less shiny, matte hides scratches better but may be a bit harder to clean.
Kohler Cast Iron Sink: A Quality Example
If you want inspiration, look at the Kohler cast iron sink line. Kohler uses high-quality enamel coatings that are both durable and beautiful. Their sinks show how a perfect finish should look — smooth, shiny, and resistant to stains and chips.
How to Care for a Refinished Cast Iron Sink
After you refinish a cast iron sink, proper care is key to keeping it looking fresh and lasting a long time. Follow these easy tips to protect your sink from damage and maintain its shine.
Daily Cleaning Tips
- Always avoid using harsh chemicals like bleach or strong acids that can wear down the finish.
- Clean your sink gently with soft sponges or cloths. Avoid anything abrasive that could scratch the surface.
- Use mild cleaners or natural options like vinegar and baking soda for everyday cleaning.
Long-Term Maintenance
- Perform regular touch-ups if you notice small chips or scratches. This keeps your sink protected and looking new.
- Don’t let water or soap sit in the sink for too long. Standing water can damage the enamel finish over time.
- Wipe the sink dry after use to prevent water spots and stains.
What to Avoid
- Avoid bleach as it can cause discoloration and damage the enamel layer.
- Never use steel wool, hard scrubbers, or rough brushes—these can scratch and ruin the smooth finish.
- Avoid dropping heavy items into the sink that may cause chips or cracks.
Common Mistakes to Avoid While Refinishing
Refinishing a cast iron sink can be a rewarding DIY project, but some common mistakes can ruin your results. Avoid these pitfalls to get a smooth, long-lasting finish.
- Not Cleaning the Sink Properly Before Starting
Dirt, grease, and old grime can stop paint from sticking well. Always clean your sink thoroughly before you begin. - Skipping Primer
Primer helps paint bond to the cast iron surface. Skipping this step often leads to peeling or chipping paint later. - Using the Wrong Paint Type
Regular enamel or wall paint won’t work on cast iron sinks. Always use specially formulated cast iron sink paint for durability and shine. - Rushing the Drying Time
Not waiting long enough between coats or before using the sink can cause paint to peel or crack. Be patient and let each layer dry completely.
Bonus Tips for Long-Lasting Results

To keep your refinished cast iron sink looking great and lasting longer, try these simple bonus tips that many people overlook.
- Use a Sink Protector Mat
Placing a soft mat or grid at the bottom of your sink helps prevent scratches and chips from heavy pots and dishes. This small step can save your refinished surface from damage. - Polish Regularly with Mineral Oil
Applying mineral oil every few weeks keeps the sink’s surface smooth and shiny. It also helps protect the enamel finish from drying out or dulling over time. - Recoat Every 2-3 Years if Needed
Over time, even the best finish may wear down. A fresh coat of paint or enamel every couple of years can restore your sink’s beauty and protect the cast iron beneath.
How to Test Old Paint for Lead
If your home is older, the existing paint on your sink might contain lead, which can be hazardous. Before sanding or stripping old paint, use a simple lead test kit available at hardware stores. This step protects your health and ensures safe refinishing.
Eco-Friendly Paint Options
For households sensitive to chemicals or with kids and pets, choosing eco-friendly cast iron sink paint is a smart choice. These paints have low fumes and fewer harmful chemicals, making your kitchen safer and the air cleaner.
Cost Breakdown: DIY vs. Professional Refinishing
Refinishing your sink yourself can save money, but it requires time and effort. Here’s a quick cost comparison:
| Method | Average Cost | Pros | Cons |
| DIY Refinishing | $50 – $150 (materials) | Affordable, satisfying project | Time-consuming, risk of errors |
| Professional Service | $300 – $600+ | Expert finish, saves time | More expensive |
FAQS
1. Can you resurface a cast iron sink?
Yes, you can resurface a cast iron sink by sanding, repairing any chips, and applying a special refinishing paint. It’s a cost-effective way to restore its look without replacing the sink.
2. How much does it cost to refinish a cast iron sink?
DIY refinishing kits usually cost between $50 to $150, while hiring a professional can range from $300 to $600 or more, depending on your location and sink size.
3. What is the best product to refinish a cast iron sink?
Look for high-quality cast iron sink paint or refinishing kits with enamel formulas designed for durability and heat resistance. Brands like Rust-Oleum and Kohler are popular choices.
4. How do you finish a cast iron sink?
First, clean and sand the sink, fix chips with putty, then apply primer and several thin coats of cast iron sink paint. Let it dry completely for a smooth, durable finish.
5. How do you rejuvenate old cast iron?
Remove rust and old paint by sanding, clean thoroughly, then apply a fresh coat of enamel paint or refinishing kit designed for cast iron surfaces to restore shine and protect the sink.
6. What not to use on cast iron sink?
Avoid harsh chemicals like bleach, abrasive scrubbers, and steel wool, as they can scratch or damage the enamel finish and reduce the sink’s lifespan.
Conclusion
Refinishing your cast iron sink is a simple, budget-friendly way to give your kitchen a fresh new look. By following the easy steps—cleaning, sanding, repairing, painting, and caring for your sink—you can restore its beauty and protect it for years. Remember, regular maintenance and using the right products will keep your sink looking great longer.


")